
How to check a redacted screenshot before sending it
The editor preview looks right. Before sending the screenshot, open the exported file and read that version. You want the private fields covered, the useful message readable, and the attachment to be the copy you just reviewed.
On this page
Compare the source with the actual exported PNG
This example is a fictional support screenshot. The request is POST /v1/messages, the status is 401, and the error asks why a staging request was rejected. The input contains a made-up key and an example.com email address.
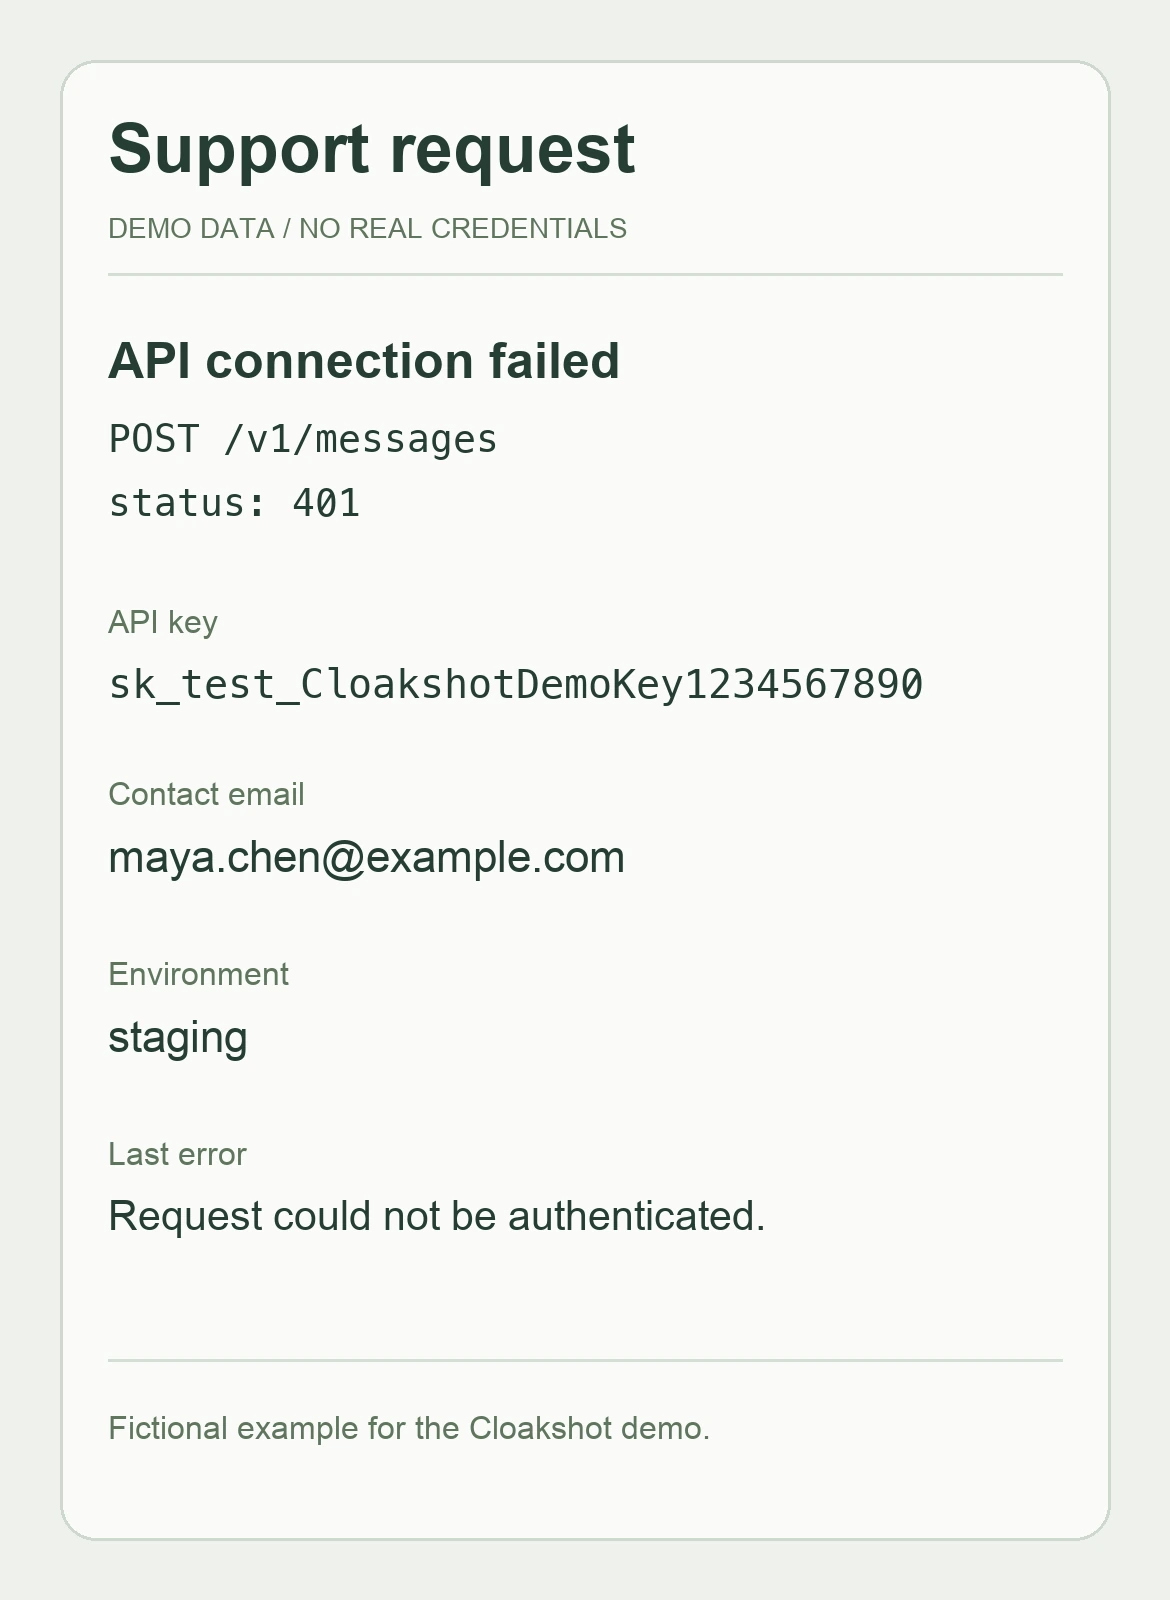
Fictional support details before editing.
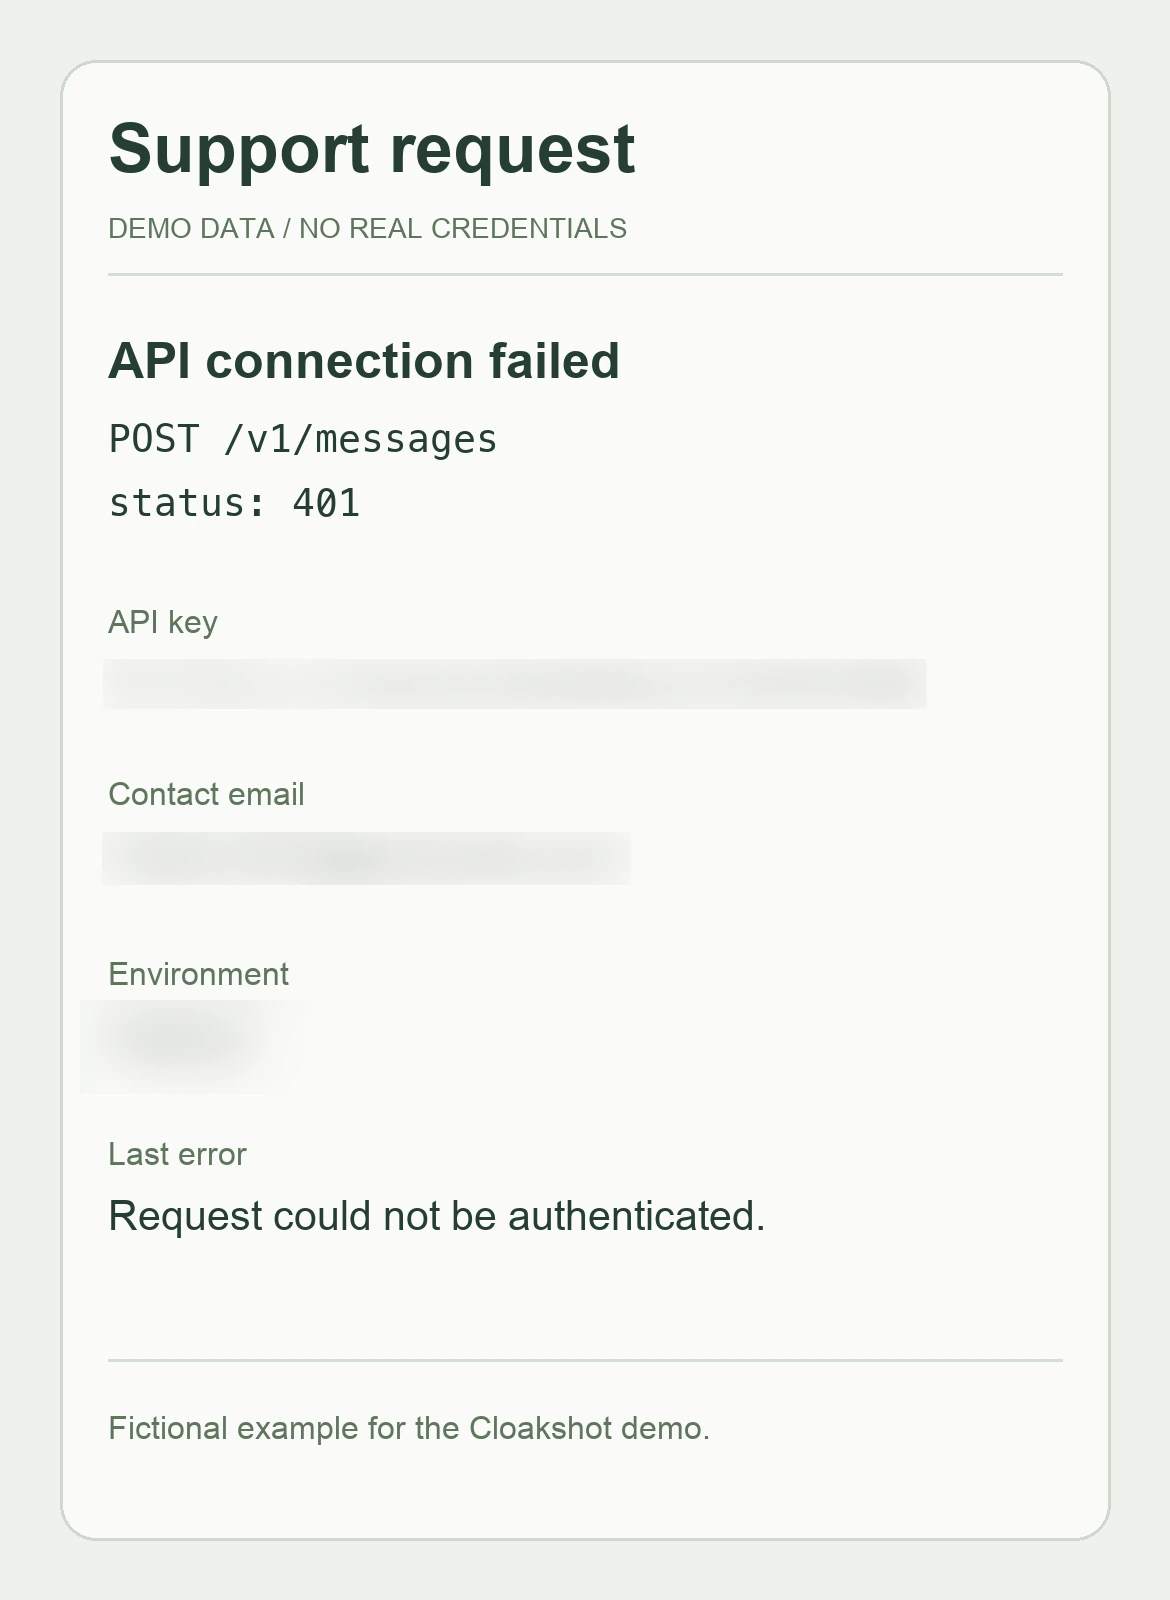
Key, email and environment covered.
The exported image has three blurred fields. It preserves the request and error. You can download the original exported PNG to inspect it at full size; the page displays WebP previews.
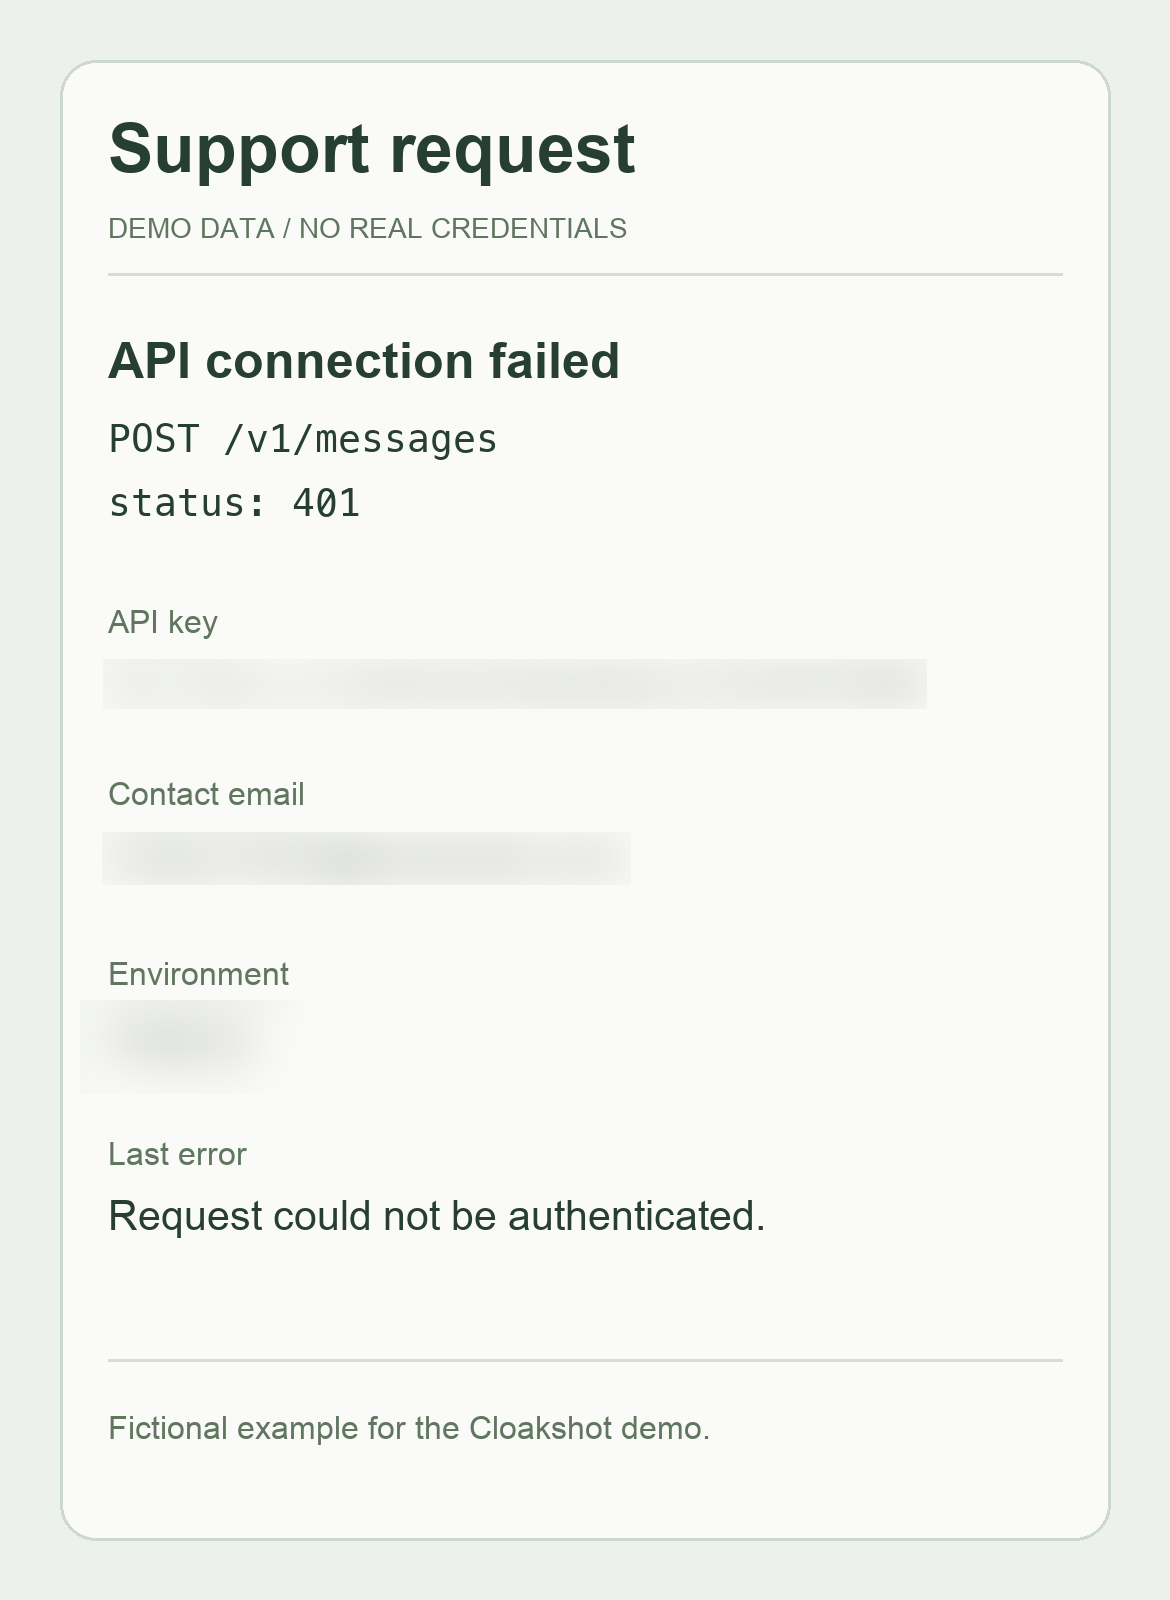
This recording uses Blur. For real credentials, choose Solid black in Settings → Detection and cover the complete value. The API-key guide explains that choice.
Open either image to inspect the full-size version.
Check the covered regions at full size
Open the saved PNG and zoom in. Look at both ends of each private field. A mask that starts after the first character, or ends before the last character, can leave information visible.
Read wrapped lines, text beside the mask and repeated values elsewhere in the image. A second copy in a quoted reply or request header needs its own edit. For a name or address, check nearby labels and other identifying details as well.
Do not use the apparent width of a blur as proof that a credential is properly hidden. Use the solid style for that purpose, then inspect the complete covered region in the exported file.
Read the message as the recipient would
In the support example, the recipient can still see the request method, path, status and question. That is enough to start discussing the error without copying the key into the message.
If your mask covers the error code or sentence the recipient needs, go back to Edit details and adjust it. Keep the private value covered while making the relevant label or neighboring text readable.
For an order-help screenshot, the missing-item sentence matters. A phone number usually does not matter for drafting a public question. The AI-sharing example works through those fields separately.
Understand what the app checks
The main app applies the selected masks to a new PNG, checks selected edits and metadata removals, and scans the exported copy again for remaining high-risk findings. Those checks help catch mistakes before the system Share menu opens.
The exported masks are written into the copy's pixels, rather than sent as separate movable editing layers. That does not make an incomplete mask complete, and a second scan can still miss something. Read the full copy before sending it.
The before-and-after pair shows the visible edits. To check GPS or other file data, review your selected removal categories and inspect the exported file using the metadata guide.
Choose the exported copy in the destination app
Export opens the system Share menu so you can send the copy directly to an installed app. If you saved the file first, choose that new PNG when attaching it later.
The original screenshot remains in your gallery and may look almost identical as a small thumbnail. Open the attachment preview before sending. Check that the masks you just inspected are present.
If you accidentally selected the original, replace the attachment. Editing another copy does not change a file that was already sent.
No account is needed for Cloakshot. Scanning and editing are free; exporting requires an active eligible trial or the one-time Pro Lifetime purchase. The trial needs an online device check, requires no payment details and does not renew automatically.